On Premise Installation
Note
This section describes a new on premise installation, if you are upgrading from an older version please refer to the Upgrading section. If you would like to install to a cloud provider then refer to the Cloud Installation section.
Overview
To install Baruwa Enterprise Edition from a DVD, place the DVD in your DVD drive and boot your system from the DVD.
The installation program then probes your system and attempts to identify your DVD drive. It starts by looking for an IDE (also known as an ATAPI) DVD drive.
If your DVD drive is not detected, and it is a SCSI DVD, the installation program prompts you to choose a SCSI driver. Choose the driver that most closely resembles your adapter. You may specify options for the driver if necessary; however, most drivers detect your SCSI adapter automatically.
If the DVD drive is found and the driver loaded, the installer will present you with the option to perform a media check on the DVD. This will take some time, and you may opt to skip over this step. However, if you later encounter problems with the installer, you should reboot and perform the media check before calling for support. From the media check dialog, continue to the next stage of the installation process.
Boot Menu
The boot media displays a graphical boot menu with several options. If no key is hit within 60 seconds, the default boot option runs. To choose the default, either wait for the timer to run out or hit Enter on the keyboard. To select a different option than the default, use the arrow keys on your keyboard, and hit Enter when the correct option is highlighted. If you want to customize the boot options for a particular option, press the Tab key. To access the boot: prompt at which you can specify custom boot options, press the Esc key and then hit Enter.
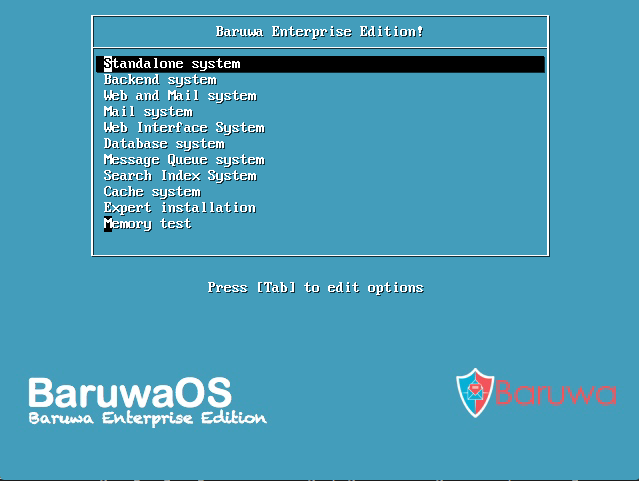
The following boot menu options are available, these options are install profiles
you need to select specific profile you would like to install. The default profile
is Standalone which installs the full Baruwa Enterprise Edition system to a
single server.
- Standalone System
- Backend System
- Web and Mail System
- Mail System
- Web Interface System
- Search Index System
- Database System
- Message Queue System
- Cache System
- Expert installation
The install profiles are described in detail at System Profiles
Warning
Make sure you choose the correct profile in the boot menu.
Additional Boot Options
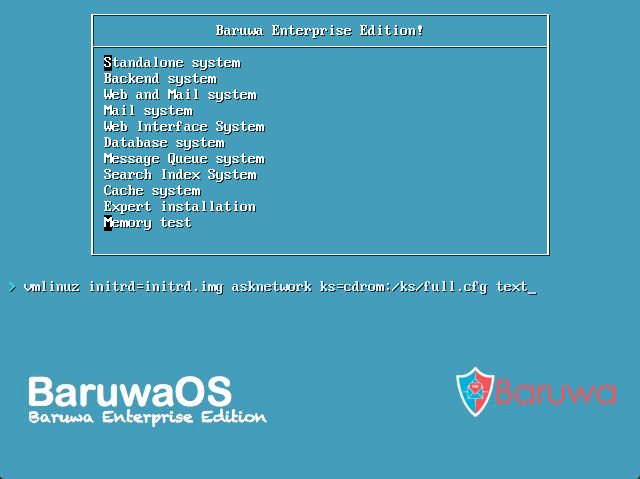
While it is easiest to boot using a DVD and perform a graphical installation, sometimes there are installation scenarios where booting in a different manner may be needed. This section discusses additional boot options available for Baruwa Enterprise Edition.
To perform a text mode installation, select the install profile and press the Tab key
then append text to the existing line.
ISO images have an SHA256 checksum embedded in them. To test the checksum integrity of
an ISO image, select the install profile and press the Tab key then append mediacheck
to the existing line.
If you need to perform the installation in serial mode, select the install profile and
press the Tab key then append console=<device> to the existing line.
Verifying Media
The DVD offers an option to verify the integrity of the media. Recording errors sometimes occur while producing DVD media. An error in the data for package chosen in the installation program can cause the installation to abort. To minimize the chances of data errors affecting the installation, verify the media before installing.
If the verification succeeds, the installation process proceeds normally. If the process fails, create a new DVD using the ISO image you downloaded earlier.
Network Configuration
If your system has more than one network device, the installer presents you with a list of all available devices and prompts you to select one to use during installation. If your system only has a single network device, the installer automatically selects it and does not present this dialog.
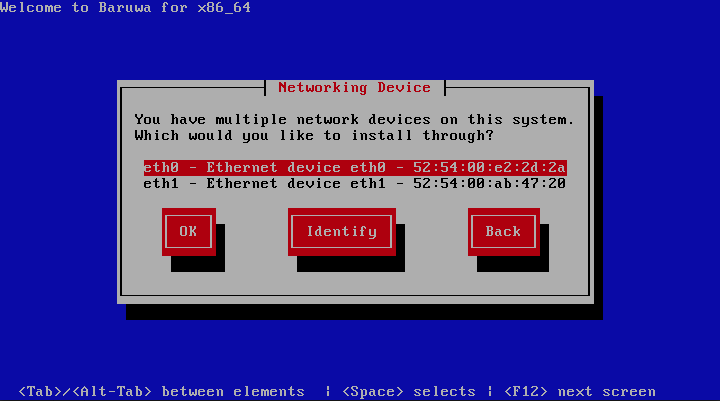
If you are not sure which device in the list corresponds to which physical socket on the system, select a device in the list then press the Identify button. The Identify NIC dialog appears.
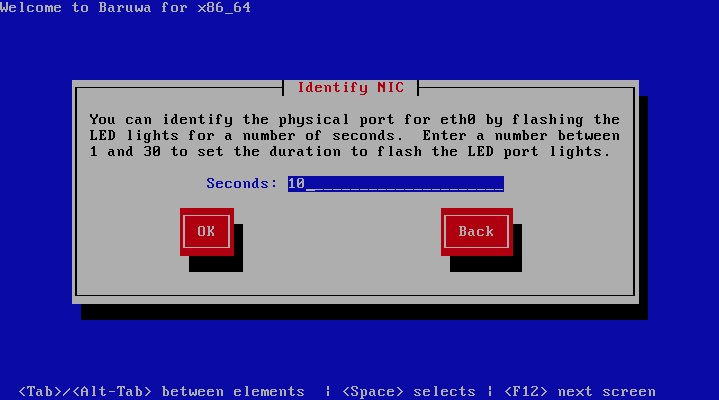
The sockets of most network devices feature an activity light (also called a link light) — an LED that flashes to indicate that data is flowing through the socket. The installer can flash the activity light of the network device that you selected in the Networking Device dialog for up to 30 seconds. Enter the number of seconds that you require, then press OK. When the installer finishes flashing the light, it returns you to the Networking Device dialog.
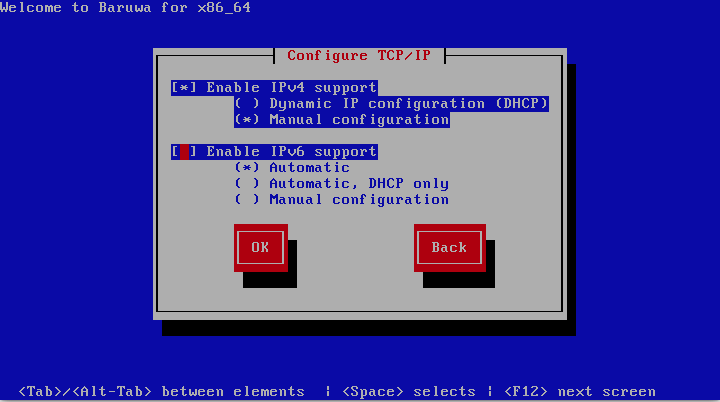
When you select a network device, the installer prompts you to choose how to configure TCP/IP.
Dynamic IP configuration (DHCP)
The installer uses DHCP running on the network to supply the network configuration automatically. Ensure that you DHCP server assigns a static IP address to the server and does not provide DNS infomation that overwrites the local settings.
If your DHCP server is unable to assign static addresses or cannot be configured to not modify DNS settings then use Manual configuration instead.
Manual configuration
The installer prompts you to enter the network configuration manually, including the IP address for this system, the netmask, the gateway address, and the DNS address.
The installer supports the IPv4 and IPv6 protocols. However, if you configure an interface to use both IPv4 and IPv6, the IPv4 connection must succeed or the interface will not work, even if the IPv6 connection succeeds.
The installer prompts you to provide the details in the Manual TCP/IP Configuration dialog:
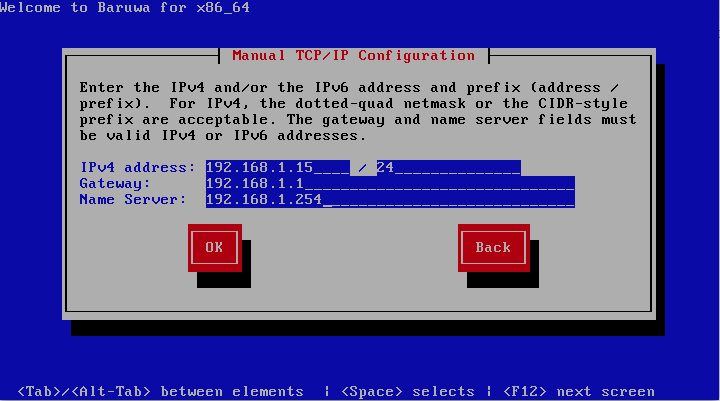
Enter the details for your network, then press OK.
You can now proceed to either Graphical Mode Installation or Text Mode Installation
Graphical Mode Installation
Initializing the Hard Disk
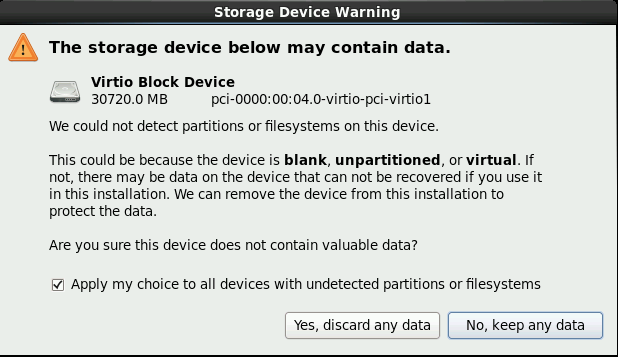
If no readable partition tables are found on existing hard disks, the installation
program asks to initialize the hard disk. This operation makes any existing data on
the hard disk unreadable. If your system has a brand new hard disk with no operating
system installed, or you have removed all partitions on the hard disk, click
Yes, discard any data.
The installation program presents you with a separate dialog for each disk on which it cannot read a valid partition table.
Check the Apply my choice to all devices with undetected partitions or filesystems
checkbox to apply the same answer to all devices.
Time Zone Configuration
Set your time zone by selecting the city closest to your computer’s physical location. Click on the map to zoom in to a particular geographical region of the world.
Specify a time zone even if you plan to use NTP (Network Time Protocol) to maintain the accuracy of the system clock.
From here there are two ways for you to select your time zone:
- Using your mouse, click on the interactive map to select a specific city (represented by a yellow dot). A red X appears indicating your selection.
- You can also scroll through the list at the bottom of the screen to select your time zone. Using your mouse, click on a location to highlight your selection.
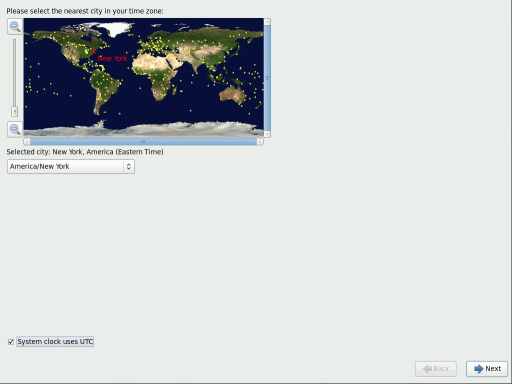
Select System clock uses UTC. The system clock is a piece of hardware on your computer system. Baruwa Enterprise Edition uses the timezone setting to determine the offset between the local time and UTC on the system clock. This behaviour is standard for systems that use UNIX, Linux, and similar operating systems.
Click Next to proceed.
Set the Root Password
Setting up a root account and password is one of the most important steps during your installation. The root account is used to install packages, upgrade packages, and perform most system maintenance. Logging in as root gives you complete control over your system.
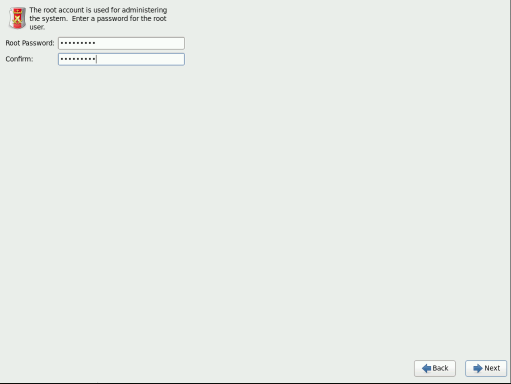
The installation program prompts you to set a root password for your system. You cannot proceed to the next stage of the installation process without entering a root password.
The root password must be at least six characters long; the password you type is not echoed to the screen. You must enter the password twice; if the two passwords do not match, the installation program asks you to enter them again.
You should make the root password something you can remember, but not something that is easy for someone else to guess. Your name, your phone number, qwerty, password, root, 123456, and anteater are all examples of bad passwords. Good passwords mix numerals with upper and lower case letters and do not contain dictionary words: Aard387vark or 420BMttNT, for example. Remember that the password is case-sensitive. If you write down your password, keep it in a secure place. However, it is recommended that you do not write down this or any password you create.
Installing Packages
At this point there is nothing left for you to do until all the packages have been installed. How quickly this happens depends on the profile you have selected and your computer’s speed.
Baruwa Enterprise Edition reports the installation progress on the screen as it writes the selected packages to your system.
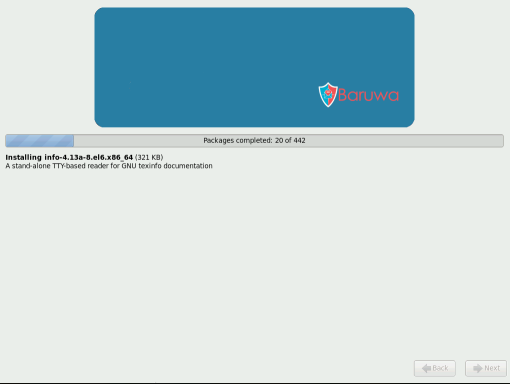
For your reference, a complete log of your installation can be found in /root/install.log once you reboot your system.
After installation completes, select Reboot to restart your computer. Baruwa Enterprise Edition ejects any loaded discs before the computer reboots.
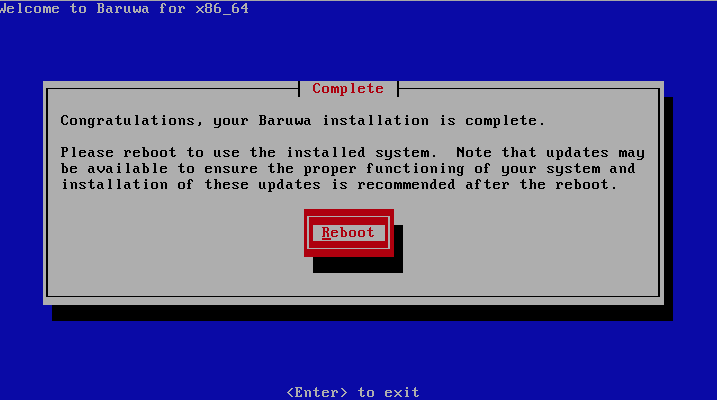
Installation Complete
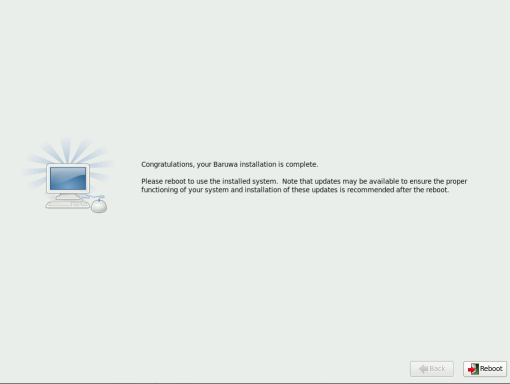
Congratulations! Your Baruwa Enterprise Edition installation is now complete!
The installation program prompts you to prepare your system for reboot. Remember to remove any installation media if it is not ejected automatically upon reboot.
After your computer’s normal power-up sequence has completed, Baruwa Enterprise Edition loads and starts.
Text Mode Installation
To install in text mode you need to modify the boot options as described in Additional Boot Options
Initializing the Hard Disk
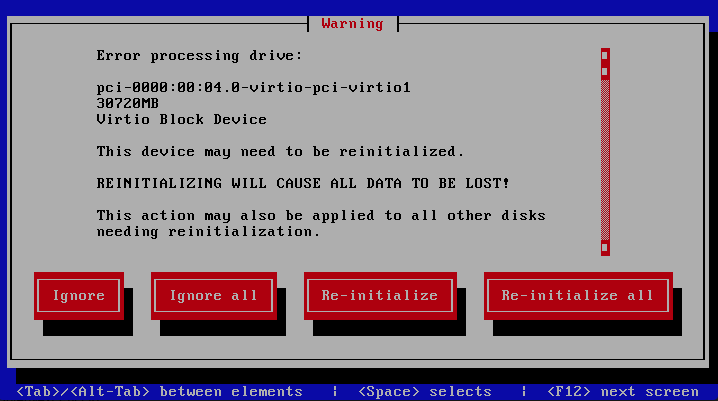
If no readable partition tables are found on existing hard disks, the installation
program asks to initialize the hard disk. This operation makes any existing data on
the hard disk unreadable. If your system has a brand new hard disk with no operating
system installed, or you have removed all partitions on the hard disk, click
Re-initialize drive.
The installation program presents you with a separate dialog for each disk on which
it cannot read a valid partition table. Click the Ignore all button or
Re-initialize all button to apply the same answer to all devices.
Time Zone Configuration
Set your time zone by selecting the city closest to your computer’s physical location.
Specify a time zone even if you plan to use NTP (Network Time Protocol) to maintain the accuracy of the system clock.
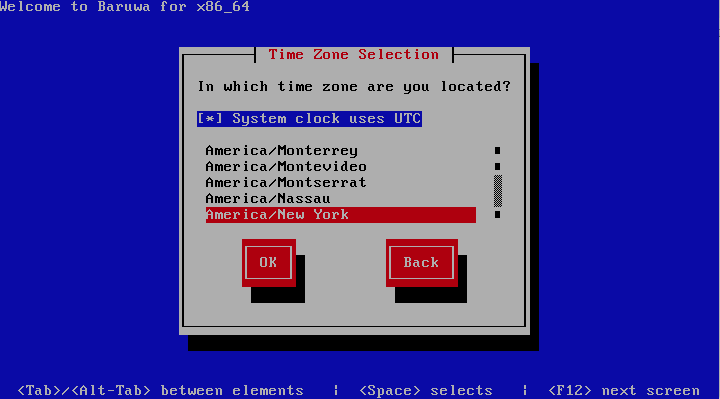
Select System clock uses UTC. The system clock is a piece of hardware on your computer system. Baruwa Enterprise Edition uses the timezone setting to determine the offset between the local time and UTC on the system clock. This behaviour is standard for systems that use UNIX, Linux, and similar operating systems.
Set the Root Password
Setting up a root account and password is one of the most important steps during your installation. The root account is used to install packages, upgrade packages, and perform most system maintenance. Logging in as root gives you complete control over your system.
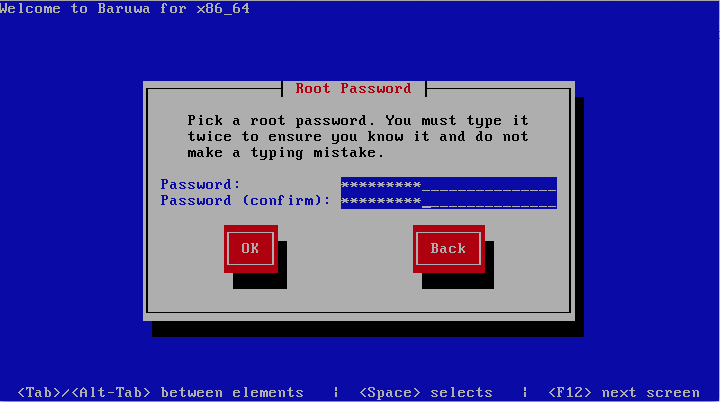
The installation program prompts you to set a root password for your system. You cannot proceed to the next stage of the installation process without entering a root password.
The root password must be at least six characters long; the password you type is not echoed to the screen. You must enter the password twice; if the two passwords do not match, the installation program asks you to enter them again.
You should make the root password something you can remember, but not something that is easy for someone else to guess. Your name, your phone number, qwerty, password, root, 123456, and anteater are all examples of bad passwords. Good passwords mix numerals with upper and lower case letters and do not contain dictionary words: Aard387vark or 420BMttNT, for example. Remember that the password is case-sensitive. If you write down your password, keep it in a secure place. However, it is recommended that you do not write down this or any password you create.
Installing Packages
At this point there is nothing left for you to do until all the packages have been installed. How quickly this happens depends on the profile you have selected and your computer’s speed.
Baruwa Enterprise Edition reports the installation progress on the screen as it writes the selected packages to your system.
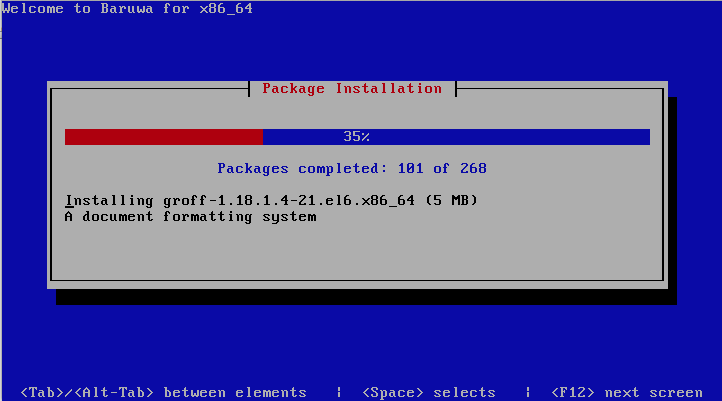
For your reference, a complete log of your installation can be found in /root/install.log once you reboot your system.
After installation completes, select Reboot to restart your computer. Baruwa Enterprise Edition ejects any loaded discs before the computer reboots.
Configuration
After the VPS has rebooted, you should login and run baruwa-setup to complete configuration. Refer to the Configuration section for details.